Flux Kontext Photoshop Plugin — Quick Start
This guide shows how to set up Replicate, add credit, get your API token, install the Flux Kontext plugin in Photoshop, and run your first AI edit.
1. Set up Replicate
1.1 Go to Replicate
Visit replicate.com and click Sign in.
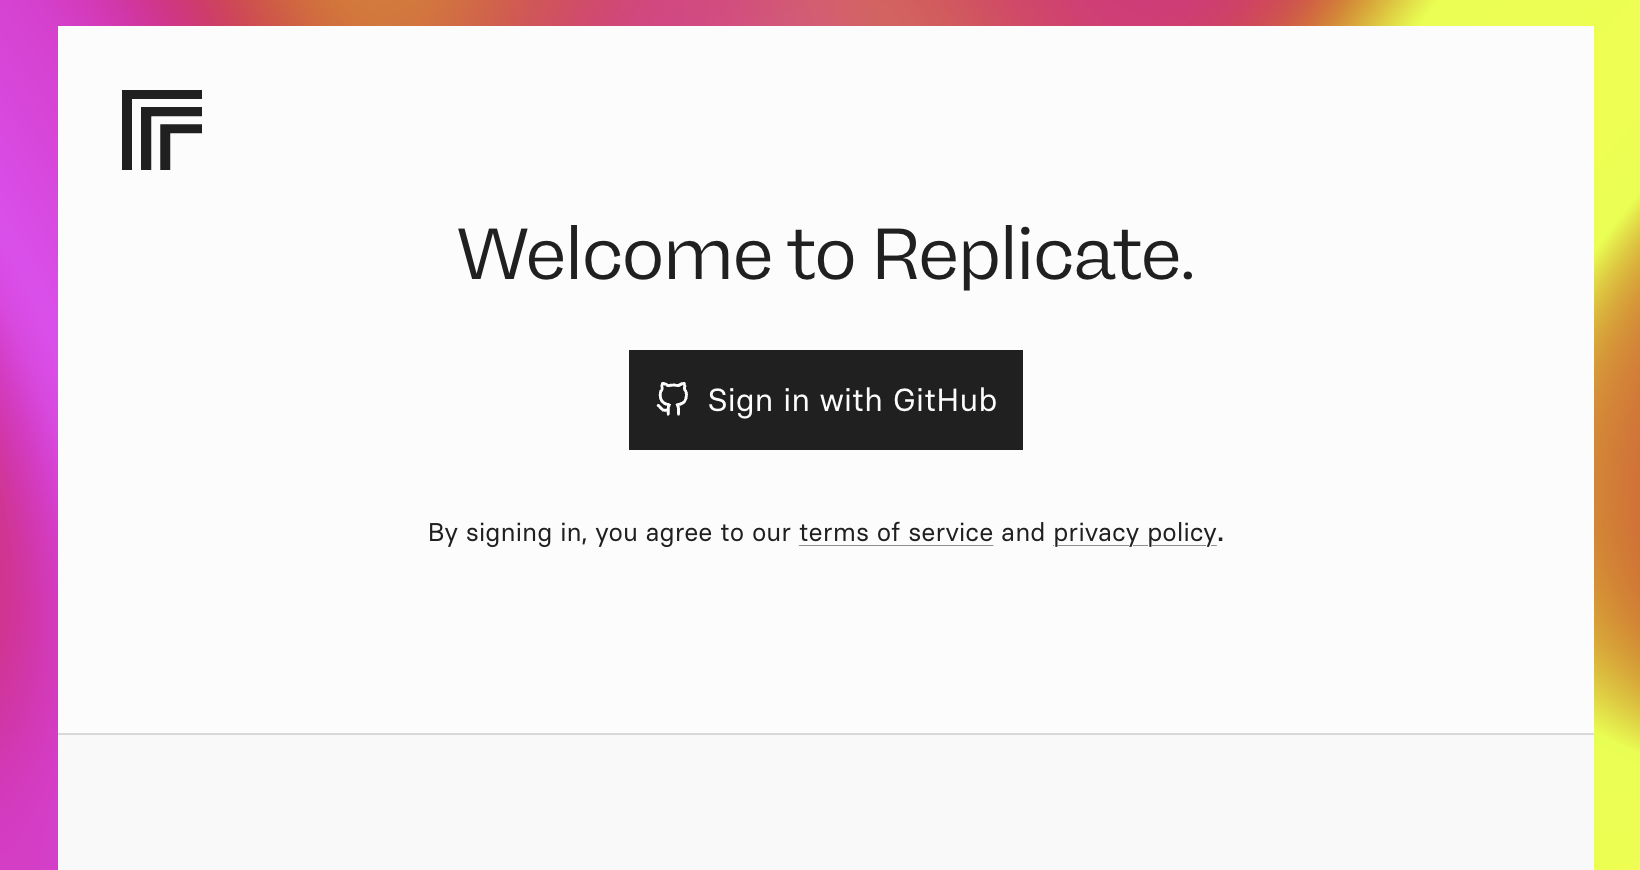
1.2 Sign in with GitHub
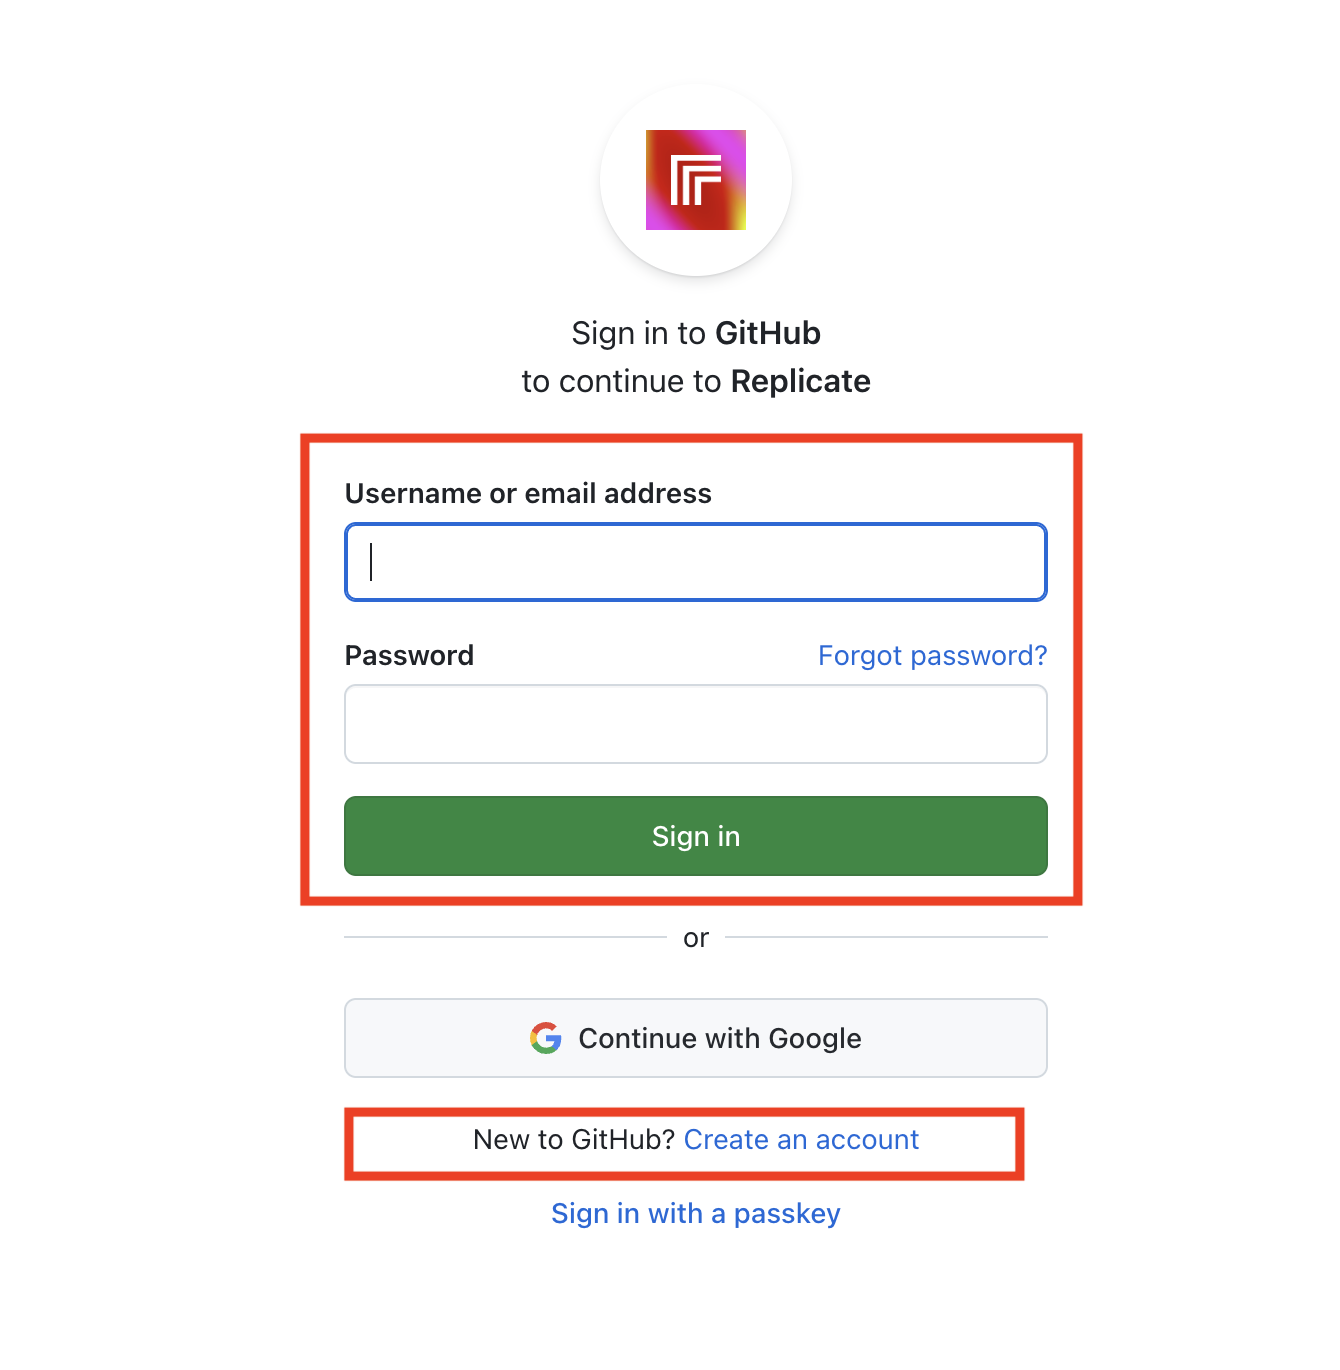
Click Sign in with GitHub. If you do not have a GitHub account yet, create one during the login process.
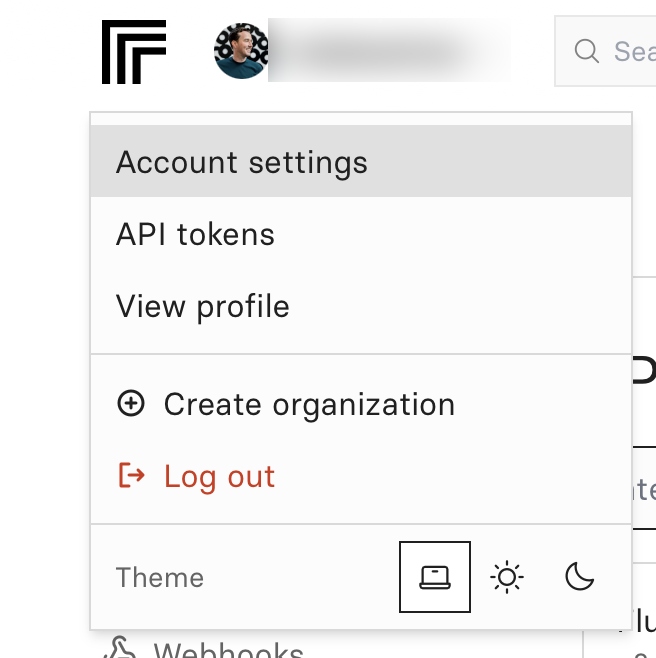
1.3 Open Account settings
After signing in, click your profile picture and choose Account settings.
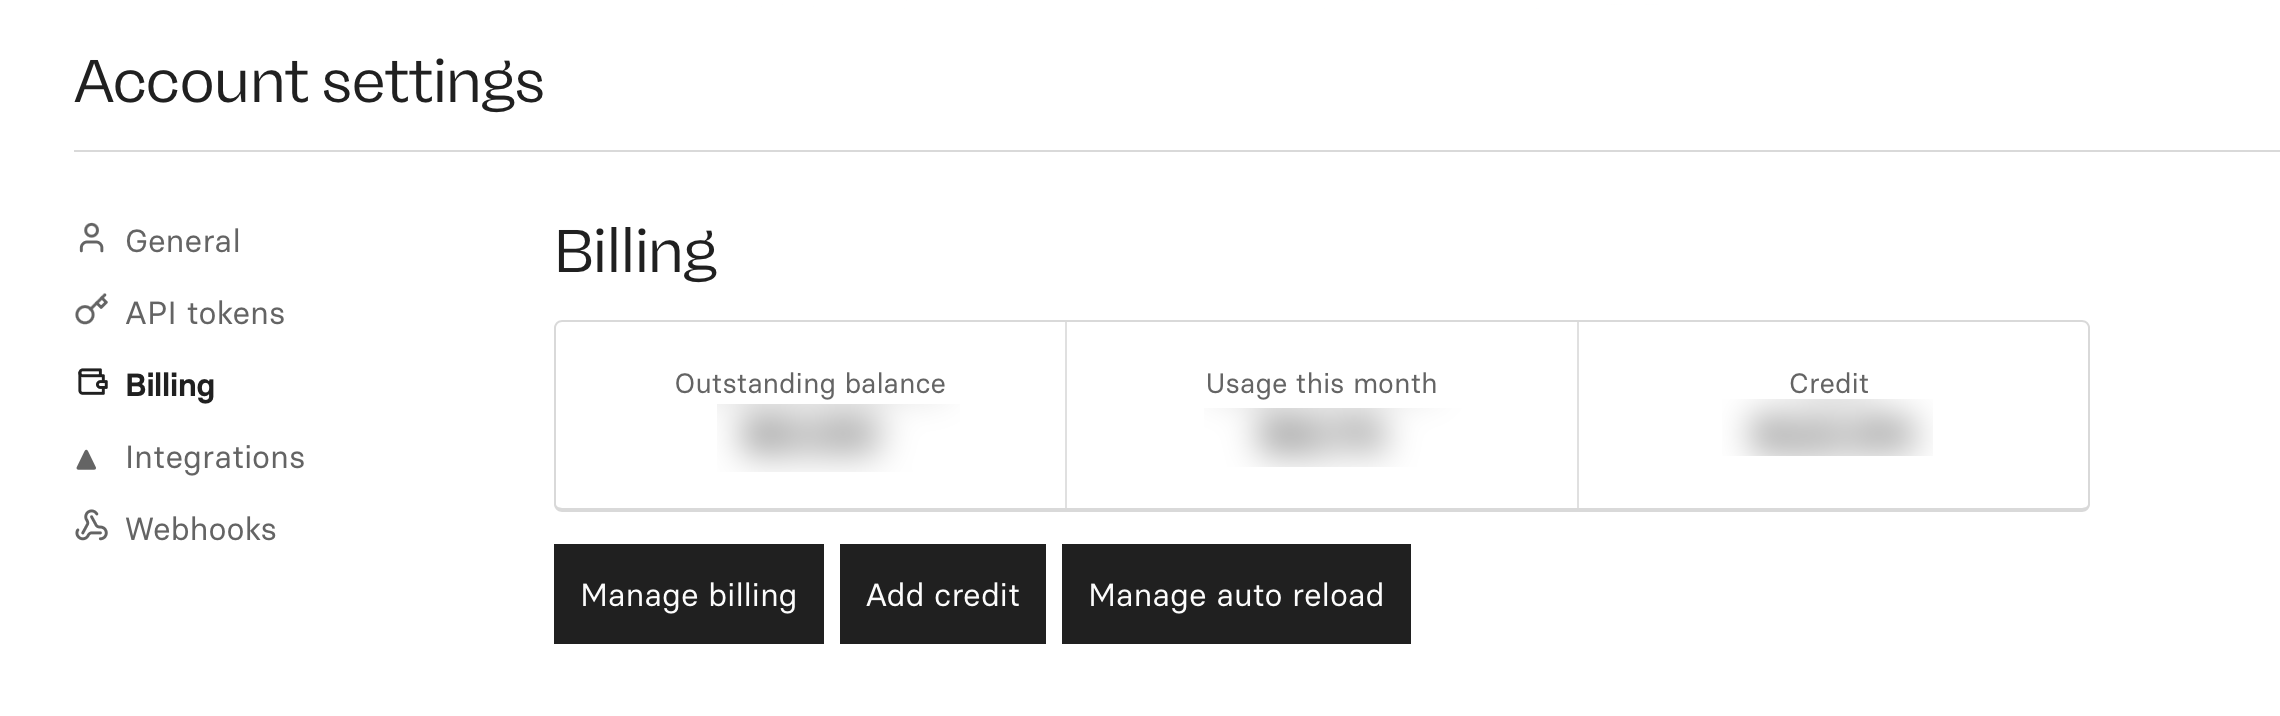
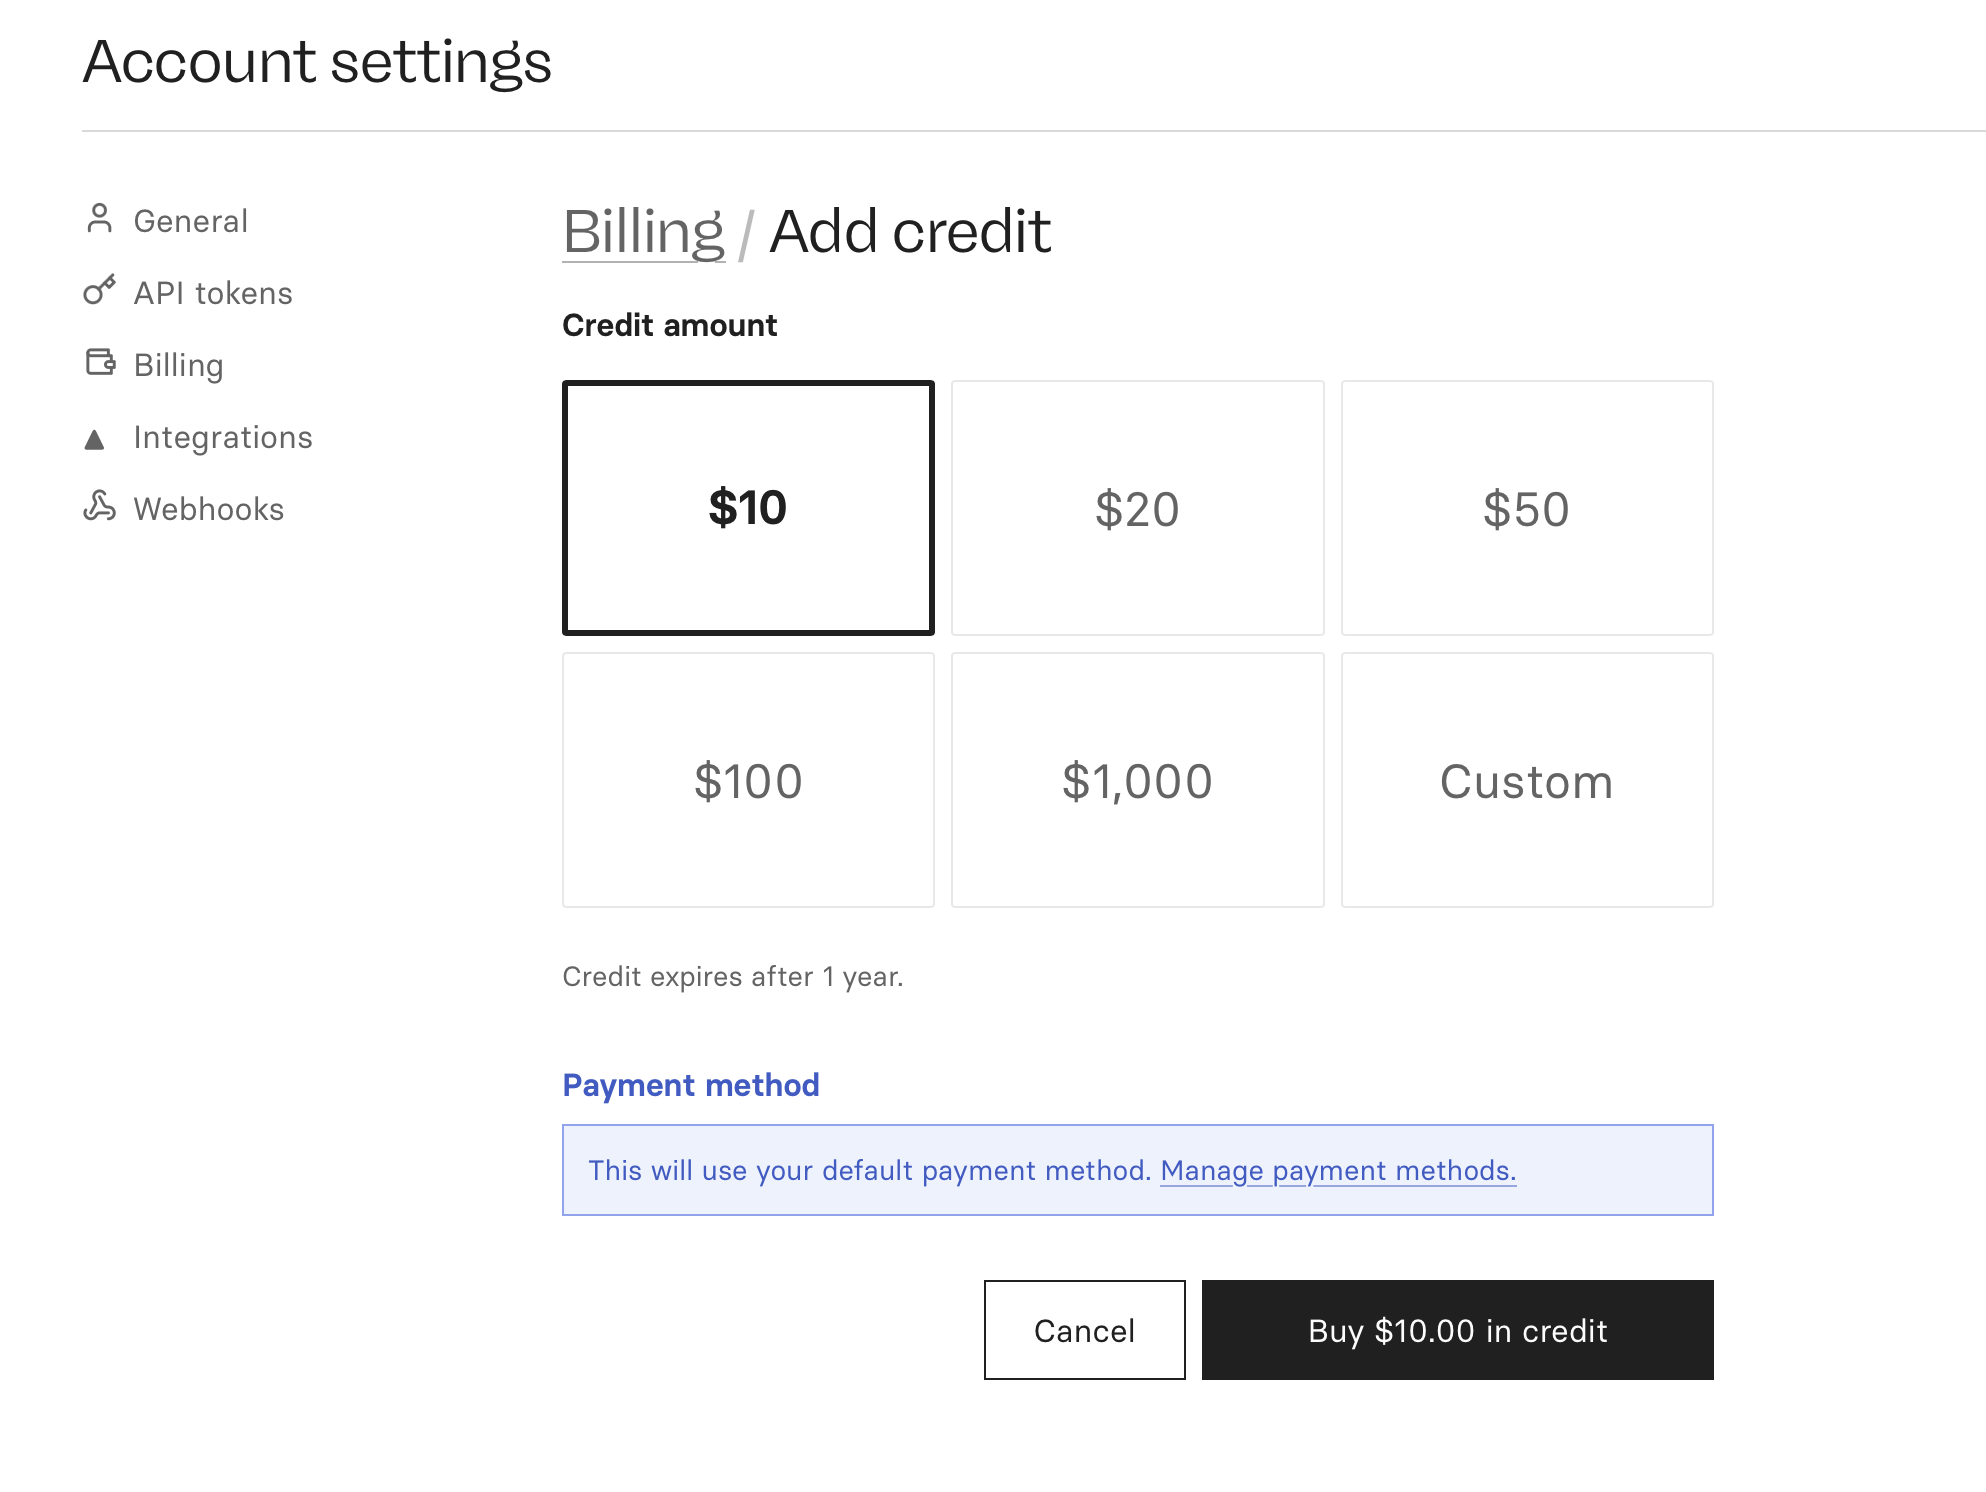
1.4 Add credit
In Account settings open Billing. Click Add credit and add at least $10.
Current costs per image: about $0.04 for Flux Kontext Pro and $0.08 for Flux Kontext Max. A ten dollar deposit is plenty to test the plugin.
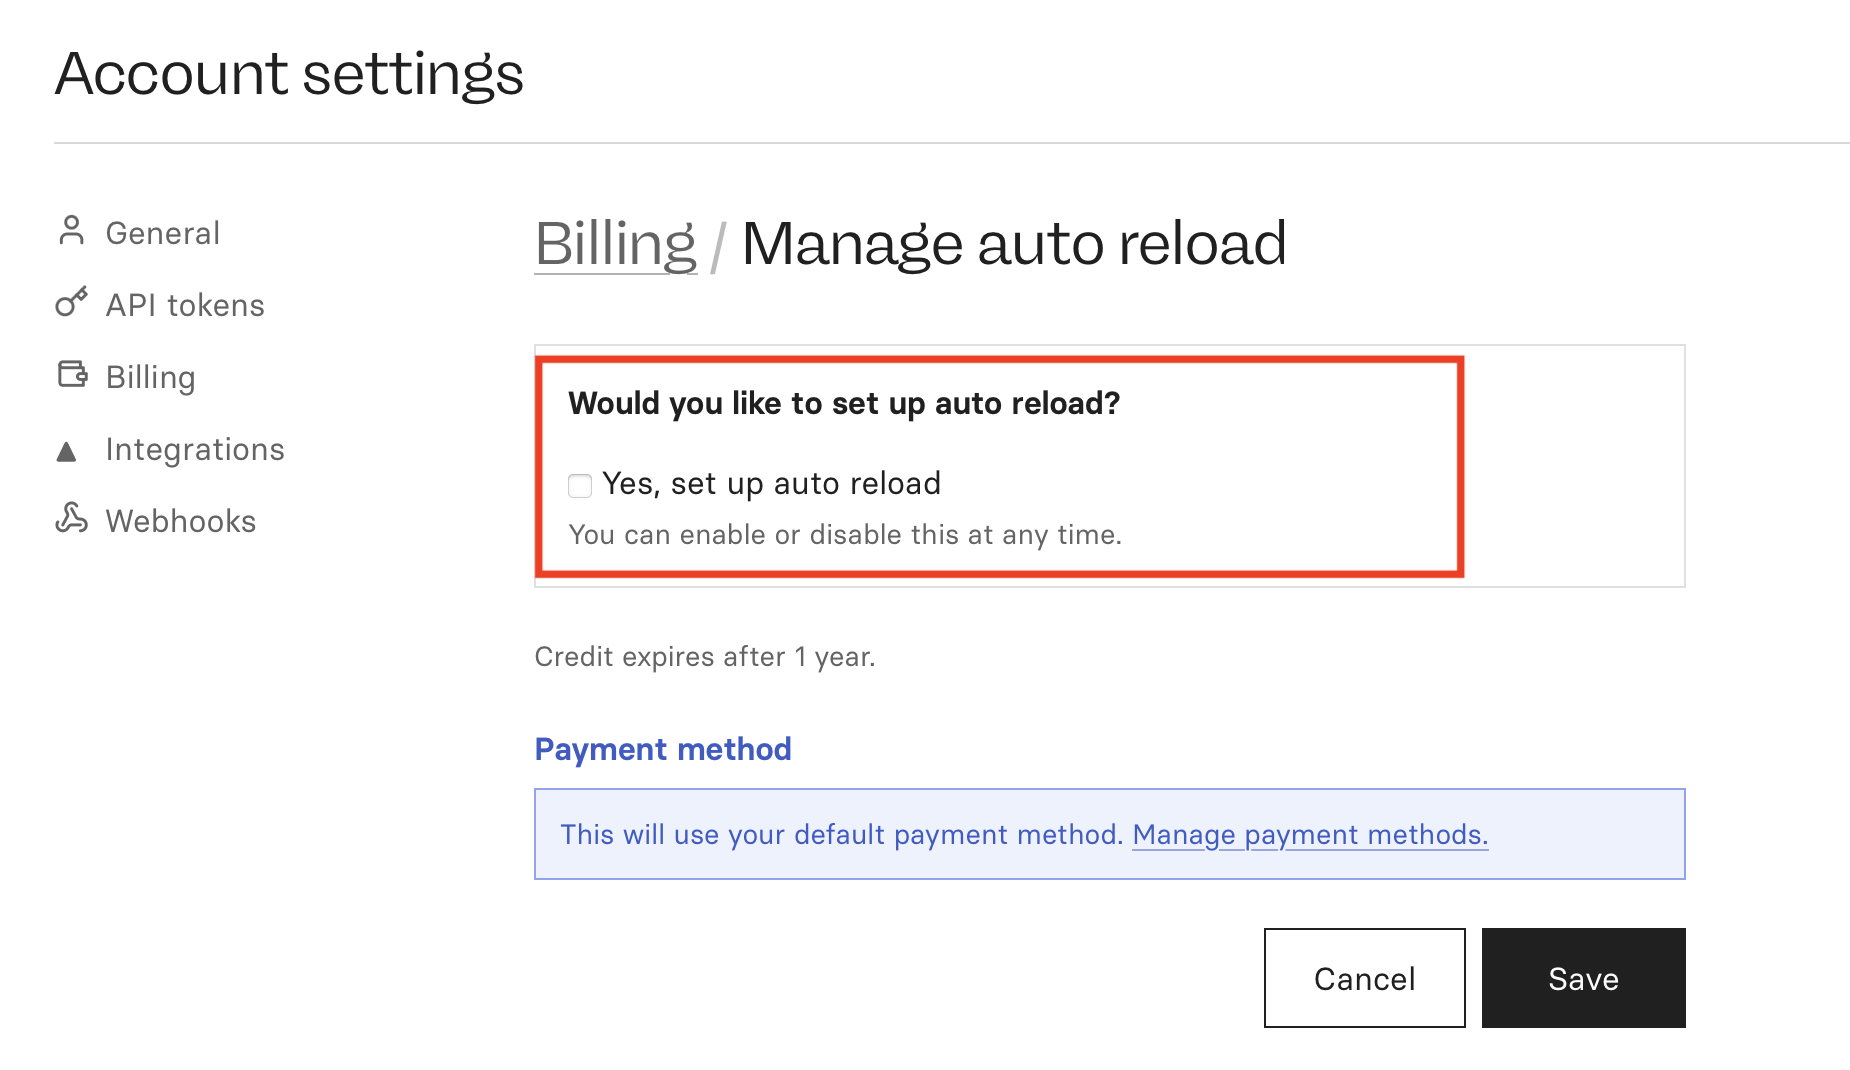
1.5 Disable auto reload
Click Manage auto reload and make sure auto reload is disabled to avoid unwanted charges.
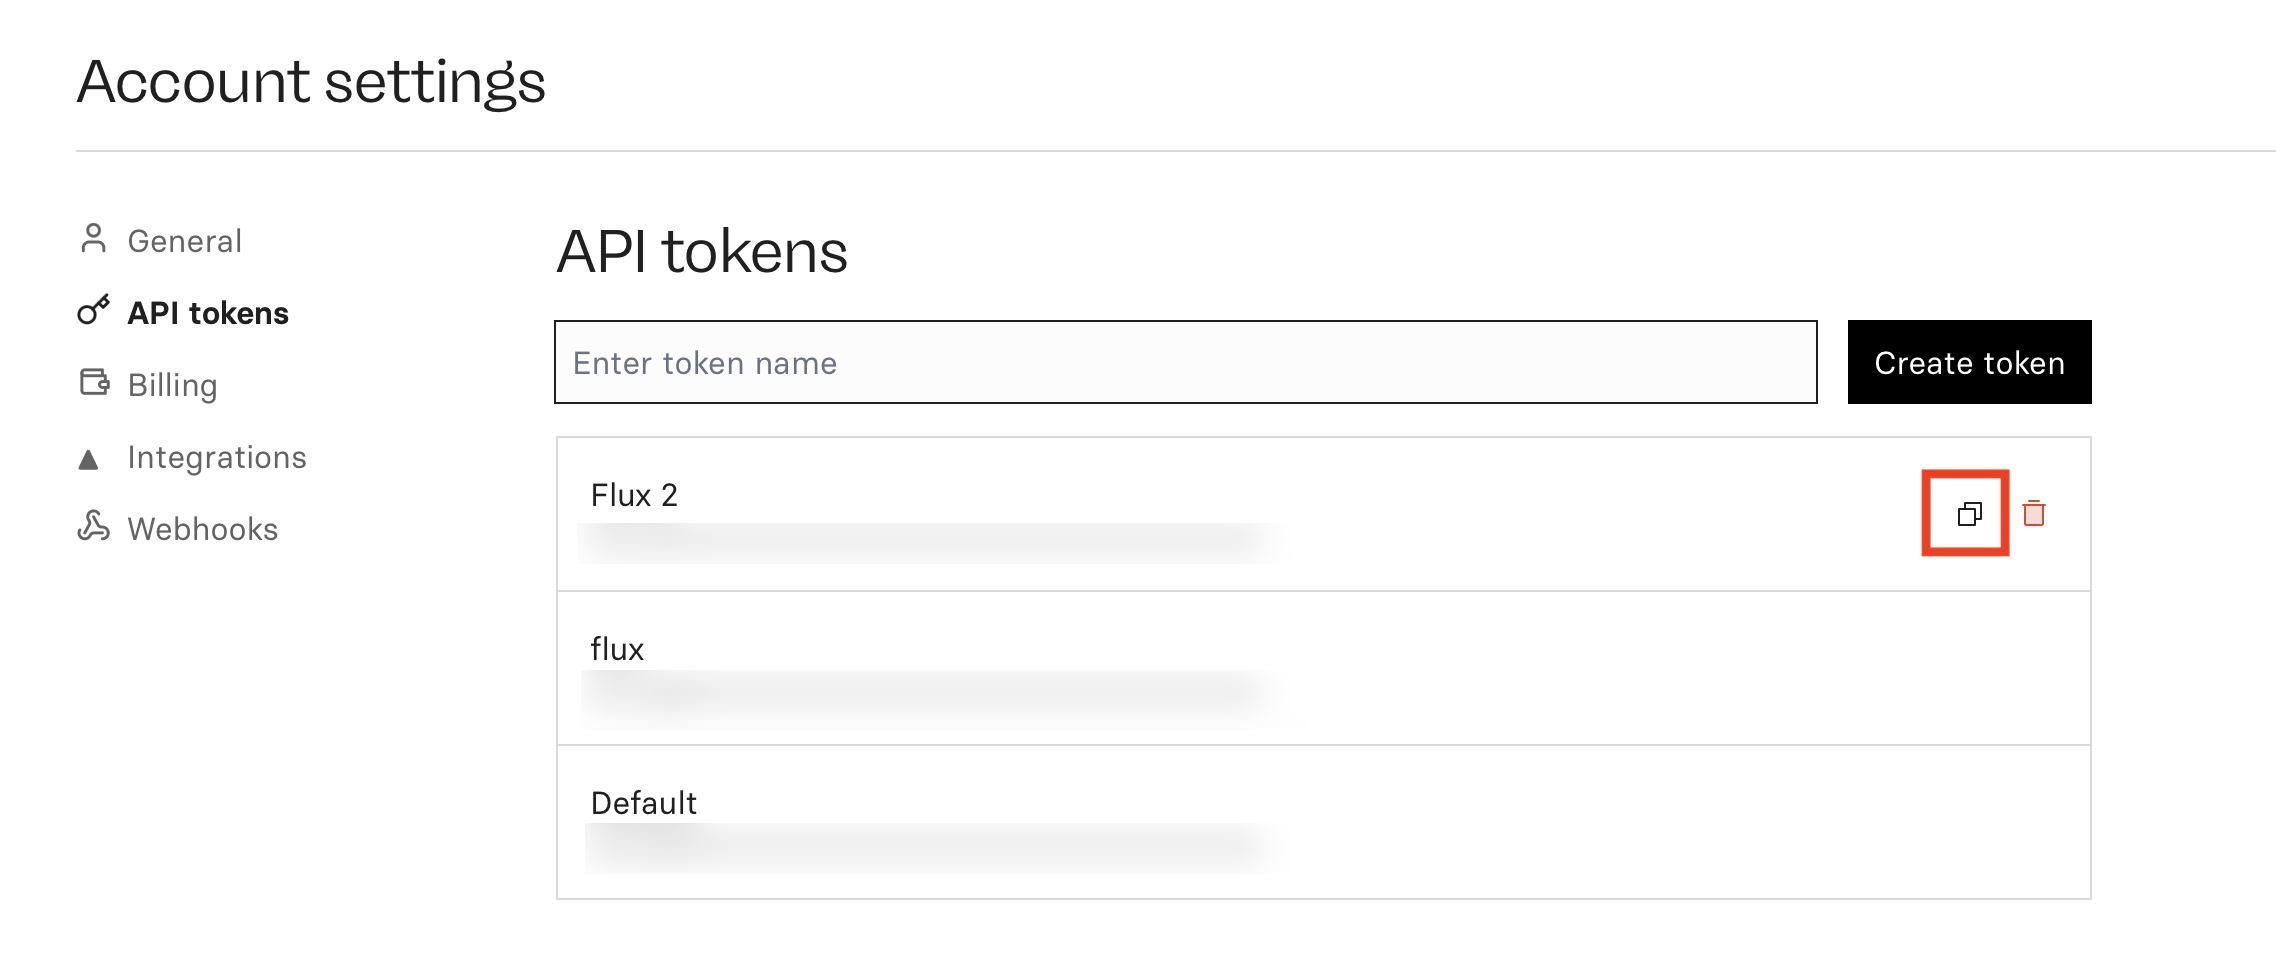
1.6 Create an API token
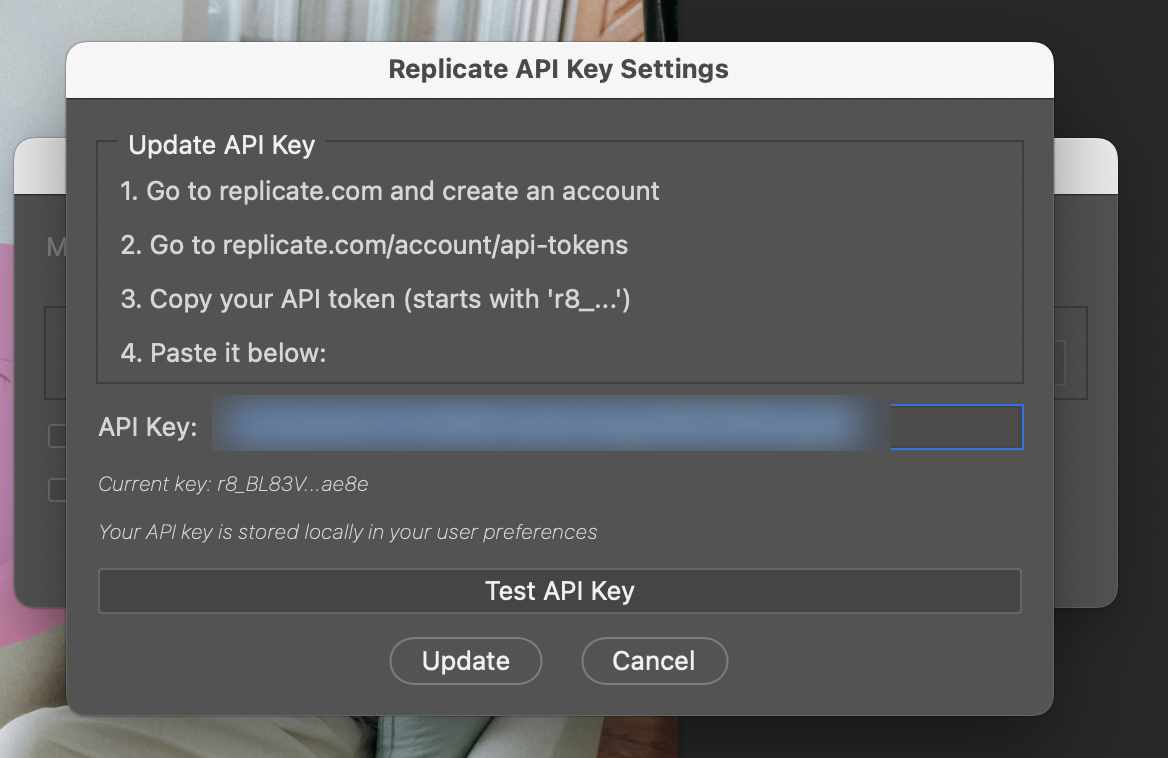
In Account settings open API tokens. Create a new token and copy it. You will paste this token in Photoshop later.
2. Install the plugin in Photoshop
- Download FluxKontext.jsx from the link at the top of this page.
- Copy it to your Photoshop Scripts folder:
- macOS: Applications → Adobe Photoshop → Presets → Scripts
- Windows: Program Files → Adobe → Adobe Photoshop → Presets → Scripts
- Restart Photoshop.
3. First time setup
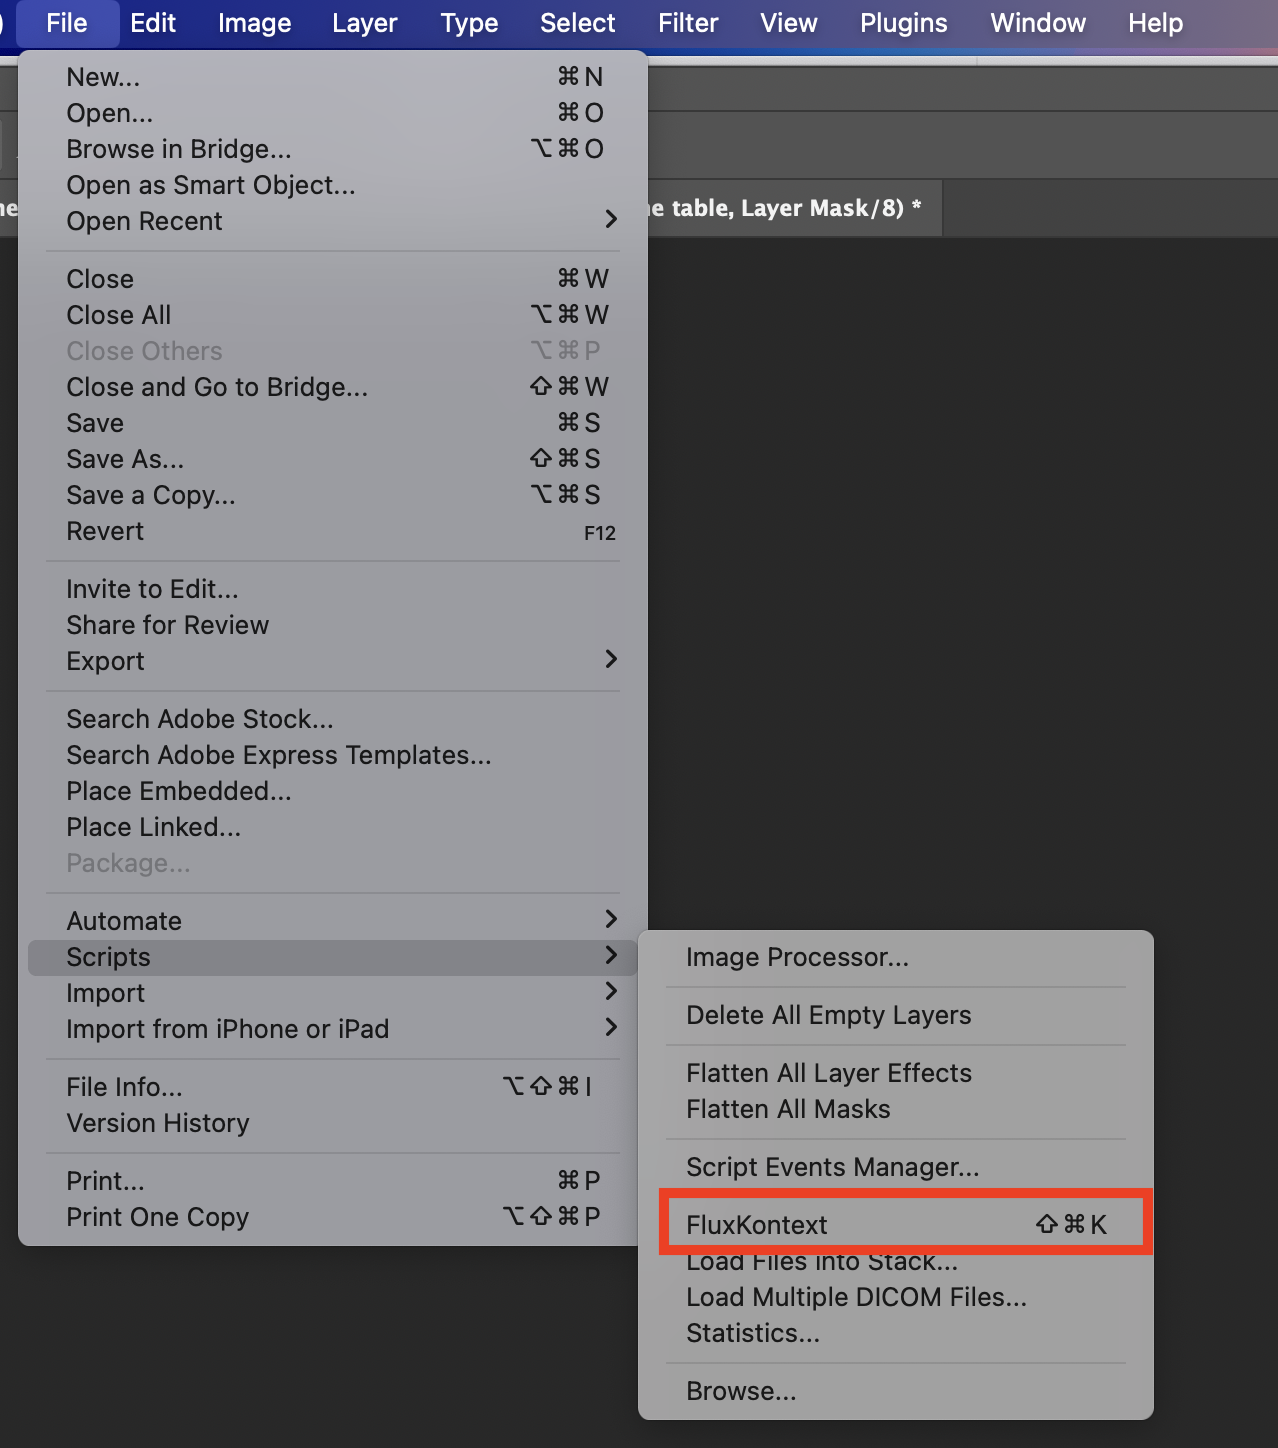
- Open any document, then go to File → Scripts → FluxKontext.
- The first time you open the script, the Settings will open first. Paste your Replicate API token.
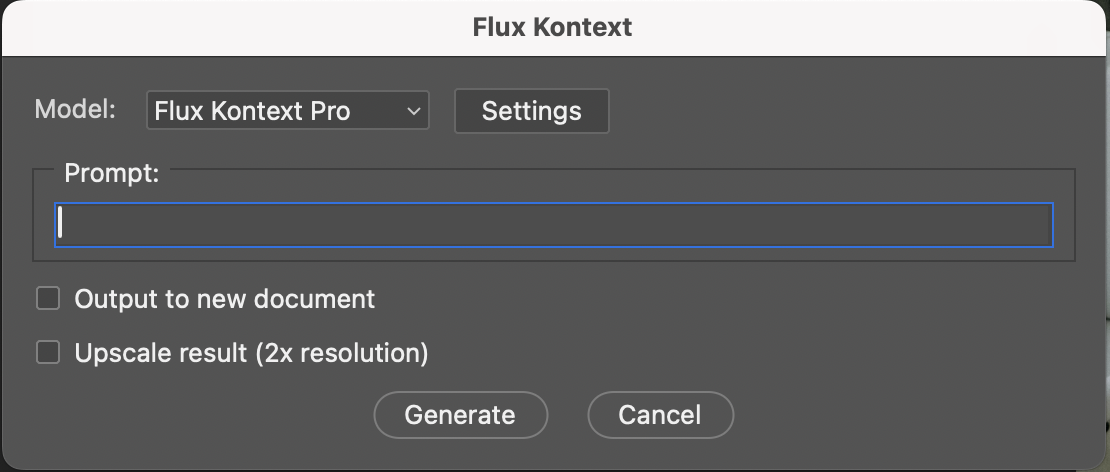
- When you're done, choose defaults: model Pro or Max (more expensive, better results with type), output mode (output to new document), optional Upscale (for better quality).
4. Run your first AI edit
- Make a selection with any Photoshop selection tool.
- Activate the script (File → Scripts → FluxKontext).
- Type a short, specific prompt that describes what to change and what to keep.
- Click Generate. The result appears as a new layer with a mask, or in a new document depending on your settings.
5. Tips
- I assigned a keyboard shortcut to the script. Go to Edit → Keyboard Shortcuts, find File > Scripts > FluxKontext, apply a shortcut (I used Cmd-Shift-K on macOS).
- Keep prompts short and specific, mention material, color, and lighting.
- Make the selection slightly larger, or softer with the Selection Brush, to give the model more context.
- Try both Pro and Max models to see which fits your image best. Overall I think Pro is great for most use cases. Max can work better on typography.
- Use Upscale when the returned patch feels too small or soft.